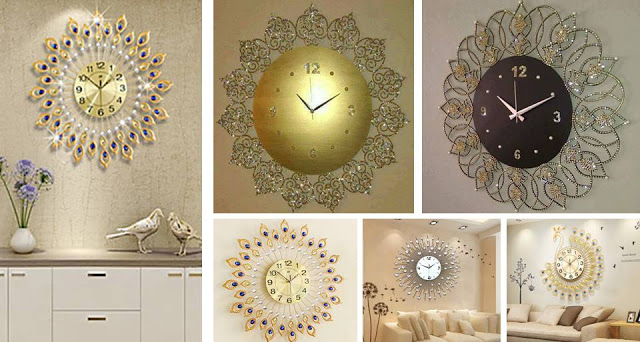
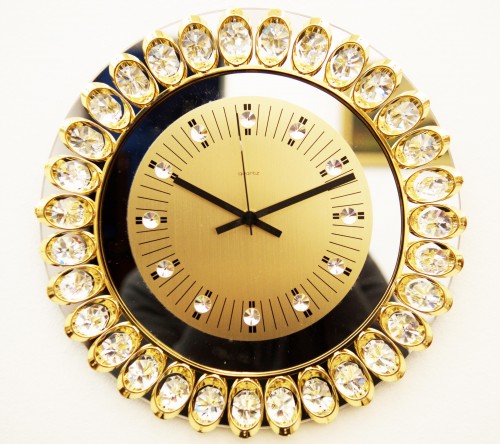
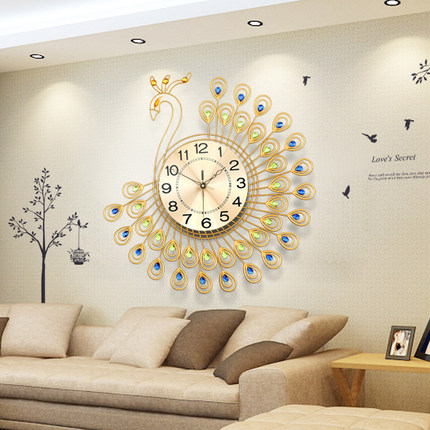
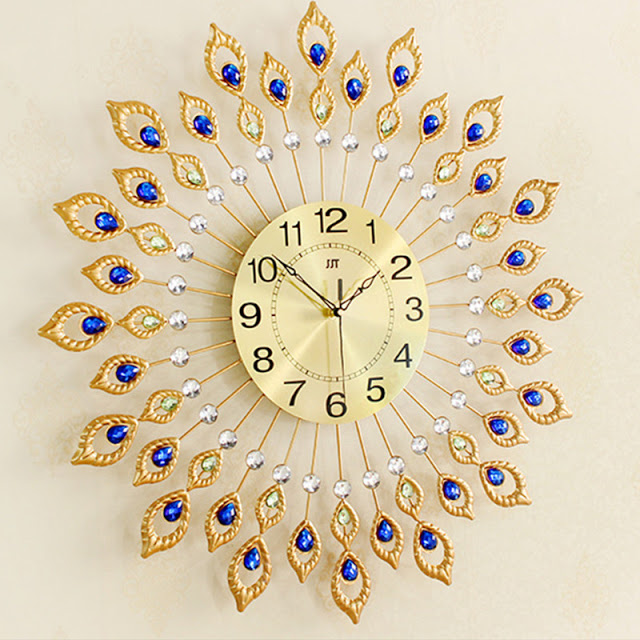
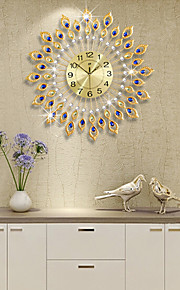
How to design a wall clock? You can get the answer easily designing if you take its specific functions into consideration before working on it. It is very true that some elements, as the position of hours and the hands cannot be changed buy, but we can make makes changes in nits shape, colors, the numbers and so on. We have described here complete method to design a wall clock step-by-step, go through the steps and design your clock:
Right Inspiration
Right inspiration is the first thing that is important while designing a clock and inspiration comes through the theme, the subject and thinking about the end-user of the clock. Get a look on some more questions like function of the clock, components that must have a wall clock, that element that you change etc.
Pick Important Materials
Pick the materials that you will need to design your wall clock like wall clock with removable face/hands, scissors, glue, computer system, pen, resulted, Abode Illustrator or other image editing software, printer.
Dissemble Some Parts of the Clock
First of all, check the back of the clock and put out the face covering of the clock. Now it comes to dissemble the clock, just disassemble the hands and the pin that secured the two hands. In the next step, remove the minute hand and hour hand. Thereafter, remove the face of the clock and try to slide the flat edge of your scissor into the edge and then prey it out.
Go for the Measurement
In this step, take you resulted and measure the diameter of the face. Always remember that mine hand diameter of 6 inches. You can know or confirm it easily just by laying the ruler across the face from 9 o’clock to 3 o’clock as there is 180 degree line between those two numbers
Work on the Illustrator
Make some vital setting in Illustrator like number of art boards, size, width, height, units, orientation etc. Open the dartboard and select the ELLIPES TOOL and select the tool and left-click in the white space. Set the height and width of the circle and draw a circle. Make it sure that in the next part when you select the LINE TOOL the circle is still selected. After so many process go into the LAYSERS MENU and lock the GROUP of LINES.
Number Placement
Now, in this step start adding numbers in the clock. Place the number 30 degrees apart from each starting from 12 o’clock.
Make the Clock Interesting
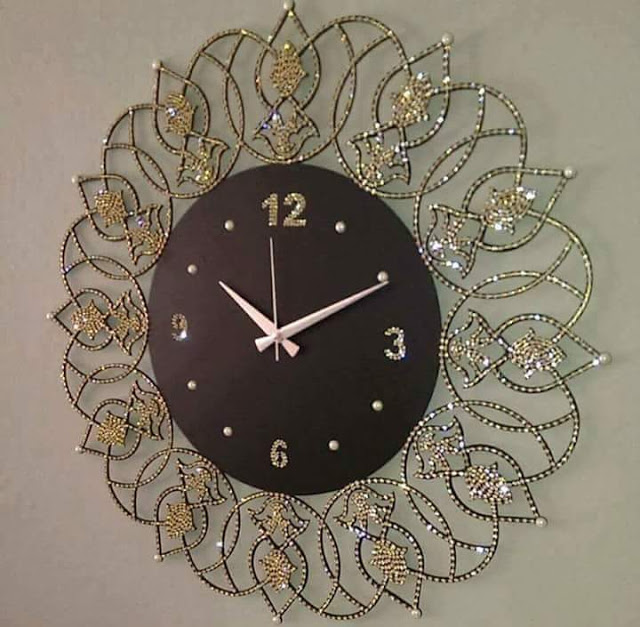
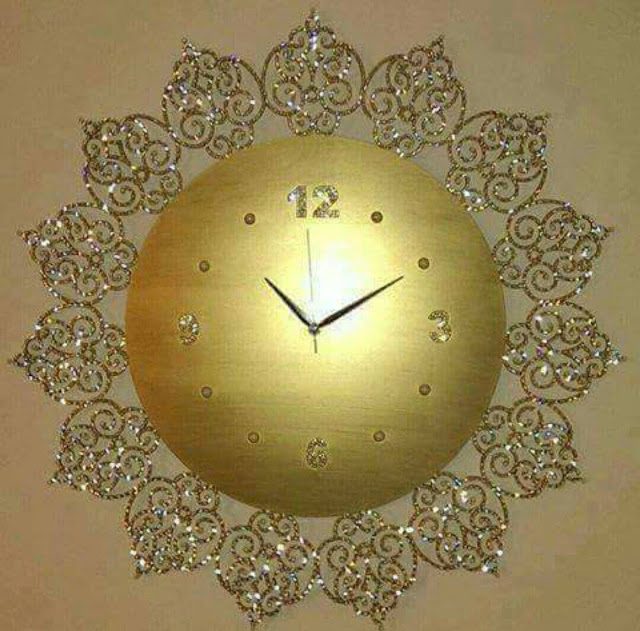
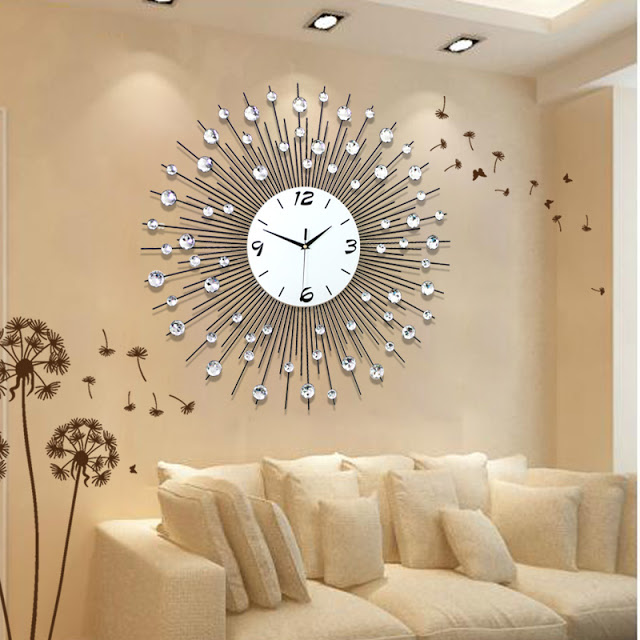
You can deflect or turn off the visibility of the liner that are shoring on the face of the clock. Add images and other decorations you want to add show in your wall clock.
Work on Back Side
Look on the back of the clock and check to see where the hold is for the nail. This hole will let you to put the clock on the wall. When you resemble the clock, you just need to stand it up on its end and rotate the entire unit in your hands for some times. Check properly that both hands are placed onto the mechanism snugly.
Lastly, take wheel in the back to set the right time.
IMAGE SOURCE:decorunits.com


